Introduction
Let’s say a local business owner is working on several online projects, from managing social media accounts to scraping data for research. The need to switch between different proxies to stay anonymous, avoid getting blocked, and ensure security is very important. But manually changing proxy settings every time is time-consuming and frustrating. This is where SwitchyOmega becomes handy.
In this guide, we’ll explain Proxy SwitchyOmega and show how it makes managing proxies easier while improving your online experience.
The Power of Proxy SwitchyOmega
Here are some of its advantages:
User-Friendly Interface
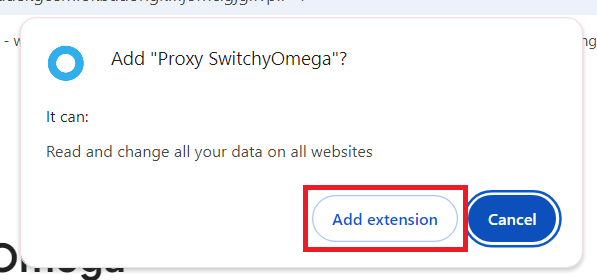
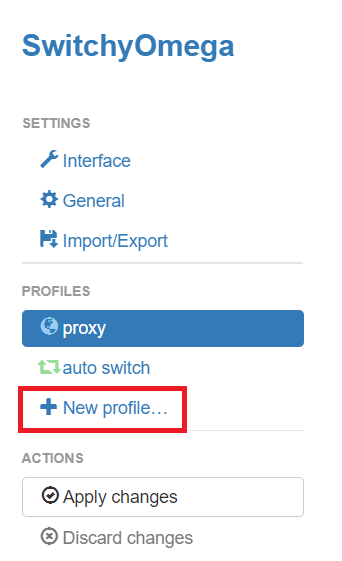
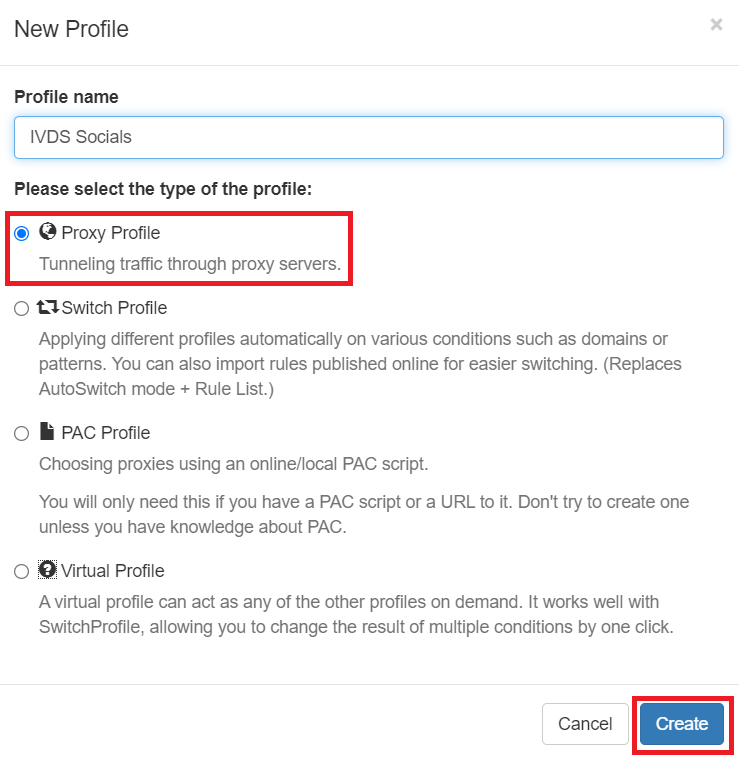
Proxy SwitchyOmega has an intuitive extension that makes managing proxies simple, even for beginners. With just a few clicks, you can create proxy profiles and switch between them effortlessly. Whether you're using a SOCKS proxy, HTTPS proxy, or another type, SwitchyOmega’s design ensures smooth configured proxy management.
Compatibility and Flexibility
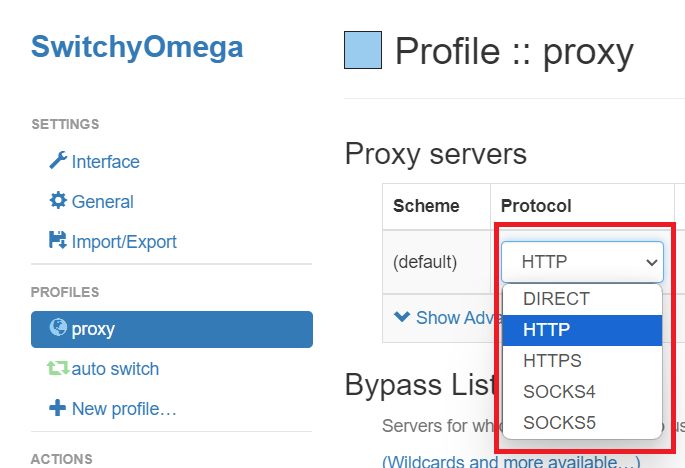
One of SwitchyOmega’s best features is its compatibility with HTTP, HTTPS, and SOCKS proxies, making it flexible for various online needs. It integrates smoothly with popular browsers like Google Chrome and Firefox, the latter is open source, providing a seamless experience across platforms.
Benefits of Proxy Rotation
SwitchyOmega works well when it comes to rotating proxies. If you’re engaged in activities like web scraping, social media management, or running bots, rotating proxies helps you stay anonymous and prevents IP blocking. This functionality keeps your tasks running smoothly while maintaining high levels of privacy and security.


